
Little Suede Dress
Hello there! Today I have a super simple project for you, but one that I think is very versatile. We’ve all heard of the little black dress that every woman needs in her closet - a magical piece that can be transformed from day to night, causal to dressy, etc. etc. Well today I’m presenting you with a spin on that original idea - the little suede dress! Well, faux suede to be exact.
First I should admit that I love a good leather look in fashion. Weather it’s suede, faux suede, leather or pleather, when it’s done well it always looks good. While the shades and shapes that are trendy have changed many times over the years, these fabrics always seem to have a place in current fashion.
For this reason, I usually consider leather clothing items to be classic pieces that have a lot of longevity in my closet. So, when I’m fabric shopping and come across a great leather-look fabric (usually with some stretch to it!), I don’t resist. Fabrics like this are so versatile, and can be used for everything from tops, dresses, pants, skirts, bags, you name it. I also usually purchase this kind of fabric without a specific plan, but knowing that I will use it eventually.
The fabric for today’s project was purchased years ago, and unfortunately I don’t remember where, so I can’t share the link for it with you. Most physical, or online fabric shops that carry fabrics for apparel with have some form of faux-suede available though.

This particular faux suede is a medium weight with a good percentage of stretch to it, and a variegated look to the texture and color that makes it interesting. I love the medium brown shade because it’s not too warm or too cool, which means I should be able to pair it with many other colors without it clashing.
I recently came across a dress pattern in my stash that I’ve also owned for some time, and thought it would work for a really simple, but convertible piece. This pattern is still available from pattern retailers, and is such a great pattern for a first time or beginner sewer. It could not be more simple!

Version A of this pattern is made up of only 2 pattern pieces for the body, and then some facing pieces for the arms and neck. It doesn’t get much simpler than that folks! I also think that with the V-neck, cap shoulders, darts, and optional pockets, it’s a pattern that’s universally flattering, and easily adjustable to suit your taste.
I’m not going to break down this project into every sewing step, because it is so easy, but I did want to show you one step in my process that you might find helpful in your own projects.
When I initially cut out my pattern pieces, I opted not to use the hidden pocket pieces that are included with the pattern. I wanted this dress to have a clean shift look, and because I was using a medium-weight knit I was also concerned that the hidden pockets would sag open. I wasn’t exactly sure if I was going to include a different kind of pocket, or include pockets at all, but I skipped this option. I went through the rest of the process of assembling the body and the facings for the neck and arms, and in less than an hour my dress was nearly done!
I still hadn’t solved the issue of pockets though. I tried it on just as it was, and decided that while I was happy with it, it could also be considered a little plain, and that front patch pockets might be just the thing to fix two problems in one.
I have a trick I’ve used for patch pockets before, when I’m making my own. I cut out a few different sizes and styles in paper, and then try them out on the garment to see what I like the most. Here is my nearly finished dress, with my top two paper pocket cut outs.

I actually really liked both options, and had a hard time deciding. In the end I chose the rounded pocket, because I thought it might be more flattering than the square block pockets. Of course, making my own pocket with the paper template was super easy.
I simply pinned the template to some extra pieces of the fabric, used my pinking shears to cut out the same shape, allowing some extra for the top hem and seems.

I also want to mention that this fabric was a dream to work with, and I often find that faux-suede knits are. They are fabrics that don’t usually fray when cut, so in the case of these pockets, pinking the edges and then turning them under once was enough for a nice finished seem. I love it when that happens! It also made my neck and arm whole facings much easier to apply for the same reason.
Once I had hemmed the tops of my pockets and turned the edges under, I experimented with their exact placement on the front of the dress. I decided to make them tilt slightly inward towards the tops of the pockets, again thinking this would be more flattering on the hip area. Here is what the pockets looked like pinned in place.

Once I was happy with the pocket placement, I sewed them in place, and the dress was done!
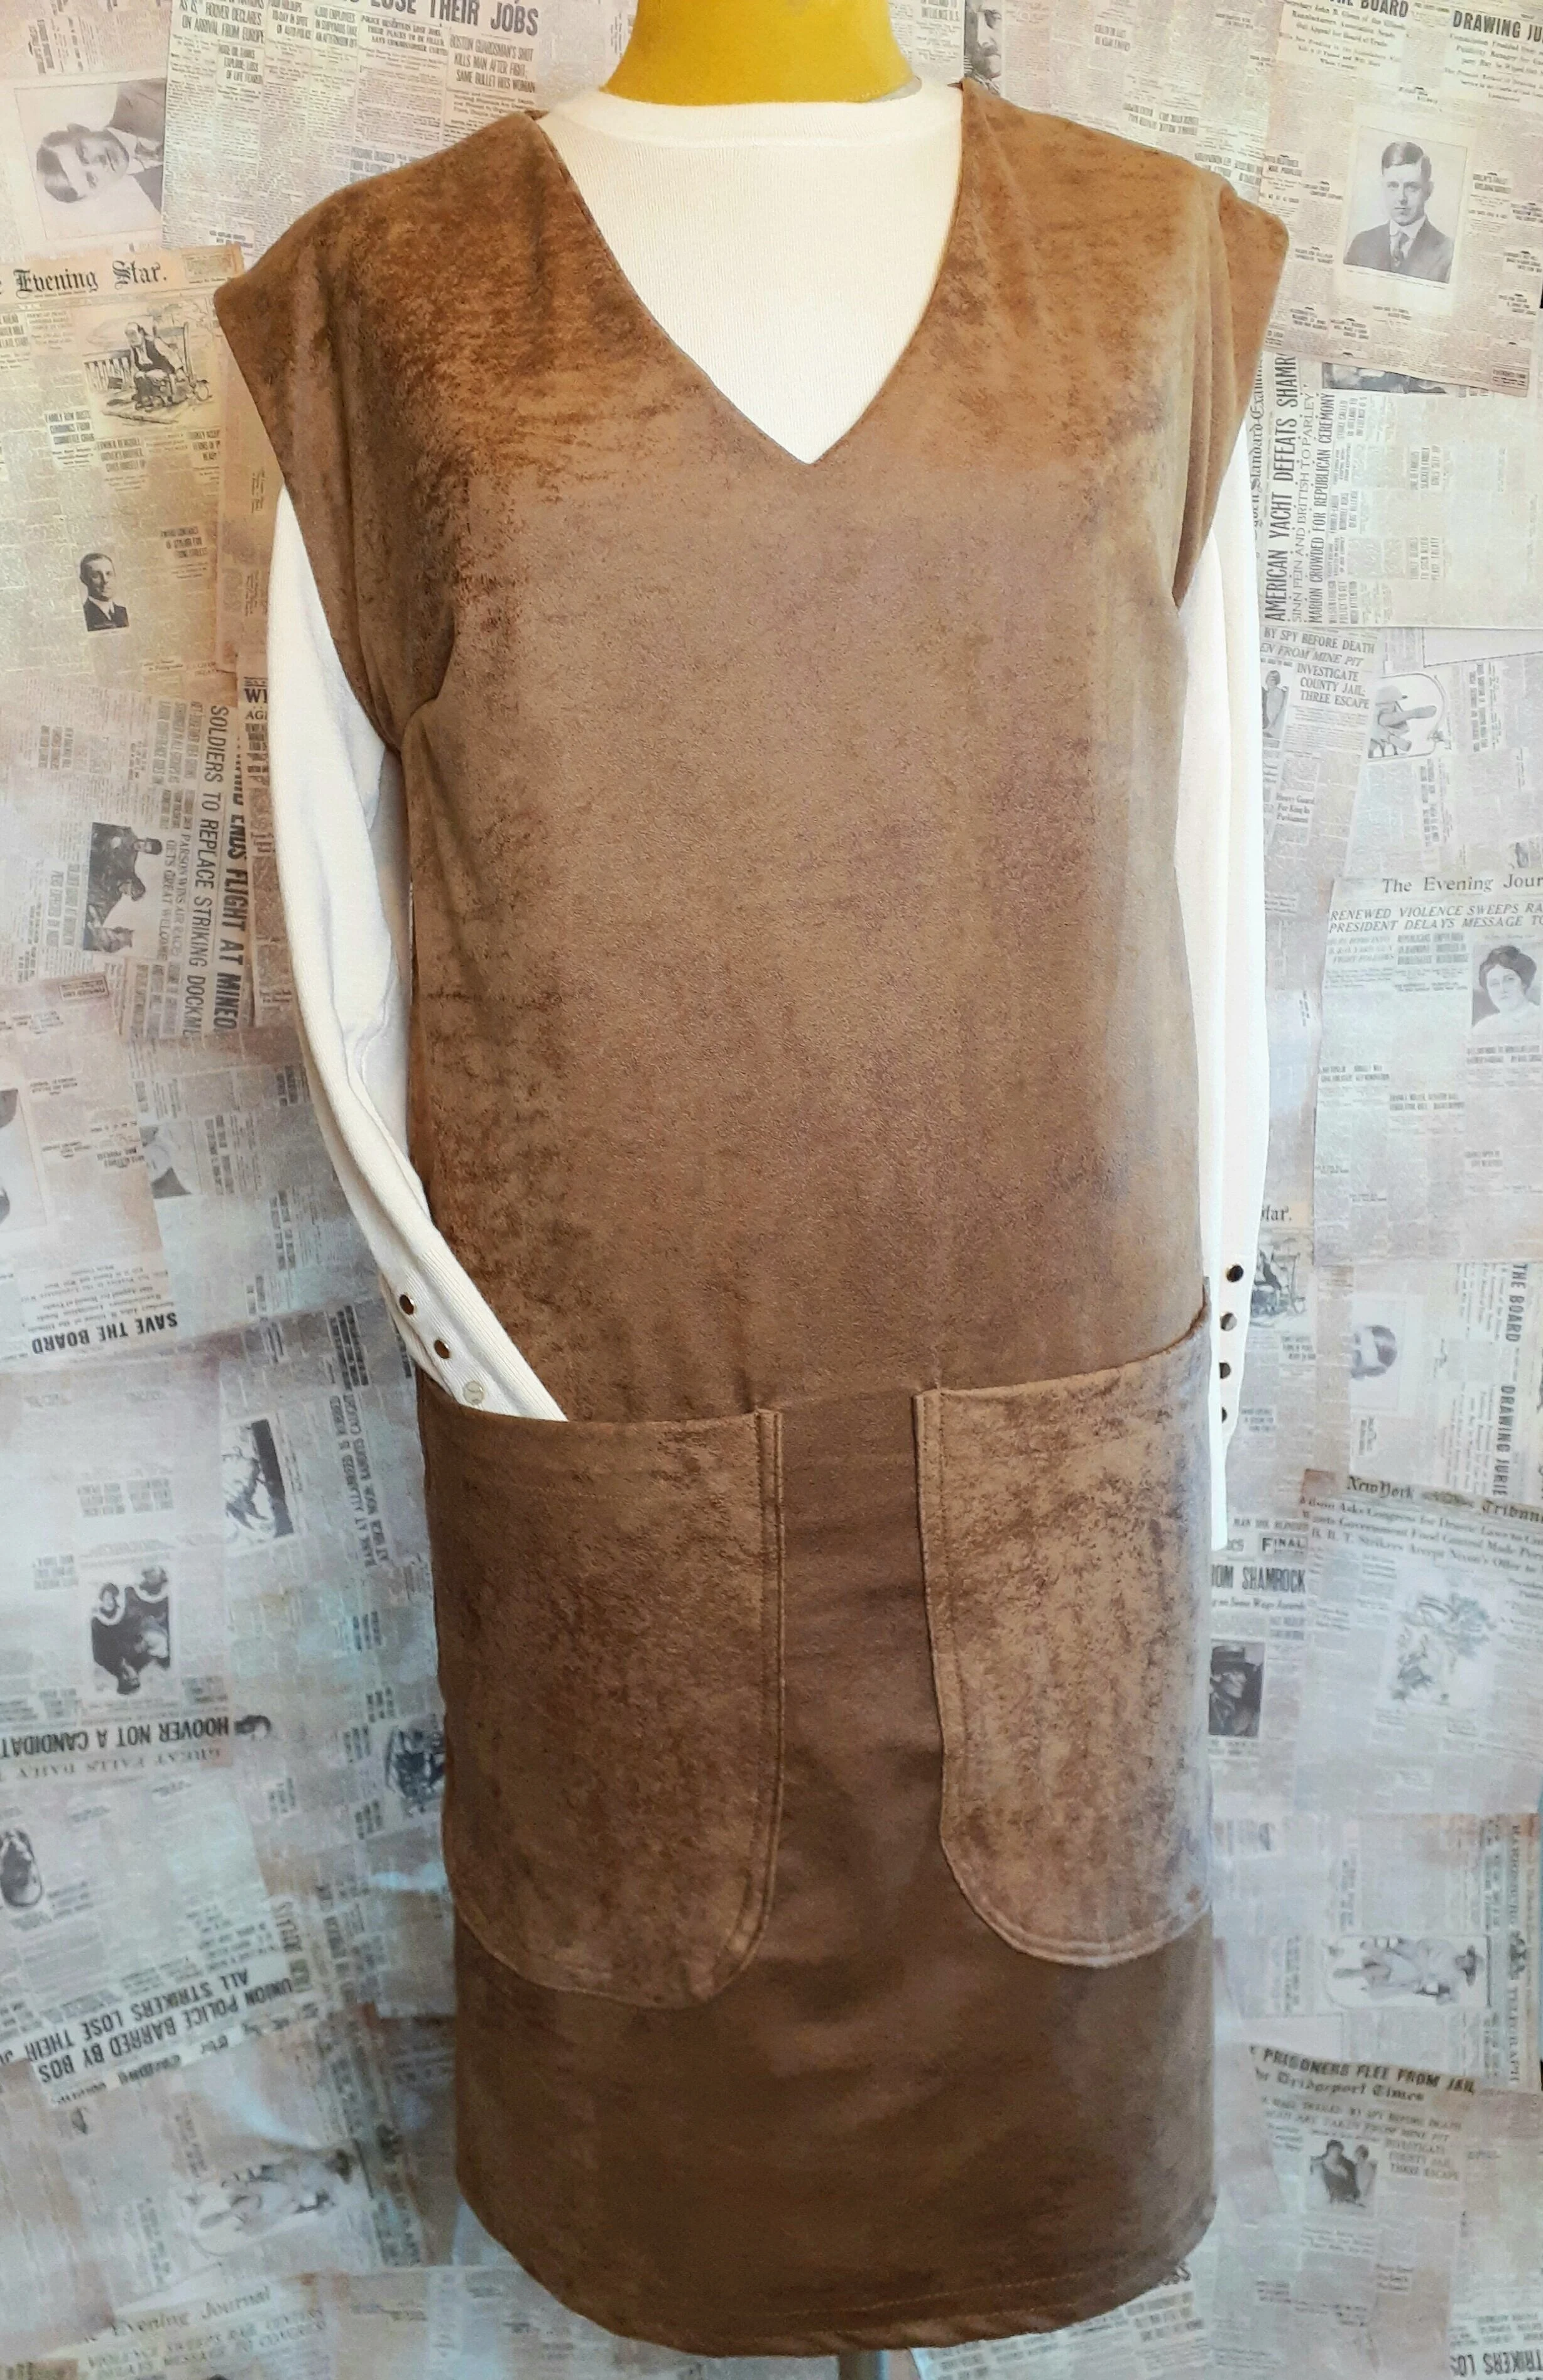

I’ve paired it with a simple long sleeve sweater here, because for spring I think I’ll pair it with this and some ankle boots. I can also wear this alone with nice jewelry and heels for something dressy (for whenever dressy occasions are a thing that happens again), or even with a button-up collared shirt underneath and some tall boots for a fall feel. So many options, out of one item that took less than 2 hours total to make - and that was including my lengthy pocket debate.
This style could be made in so many different fabrics, with added details that would make it look completely different. Experienced sewers could easily whip this up without a pattern, but if you’re a beginner looking for something simple to try out, any pattern similar to this dress would be a great option. You could also choose beginner friendly fabrics like cotton, twill, light weight denim, or corduroy, which are easier to work with than knits for newbies. Have I mentioned the endless options with this?!


Whether you’re a beginner sewer or someone who has sewn countless dresses, I hope this project has given you some ideas for something you can make for yourself. I’m going to head back to my machine to finish a detailed project I’ve been working on for some time, and can’t wait to share with you. Until then, happy sewing!
~Amanda


