
Fall Embroidered Journal Cover
Let’s take a break from fashion sewing this week to look at something crafty!
Once in a while it’s really fun for me to sew smaller projects that are on the craftier side, and I’ve been seeing so many pretty, embroidered journal/notebook covers online in different themes that I decided I had to try making one.
I’m not a person who journals (really wish I was that person though!), but I use notebooks constantly. I’m a big list-making person, and I also like to use notebooks to jot down my thoughts and ideas as needed. I’m forgetful and my train of thought is chaotic, so if I don’t right things down I’m liable to forget all about them, or obsessively think about them so that I don’t. Really hoping I’m not alone here…
For me this project was extra practical because it would give me a chance to work on my embroidery skills, which is a fairly new addition to my crafting life. I shared my first ever embroidery project with you in my post about making my own 18th century pocket, and I was pleasantly surprised at how approachable I found this craft to be.
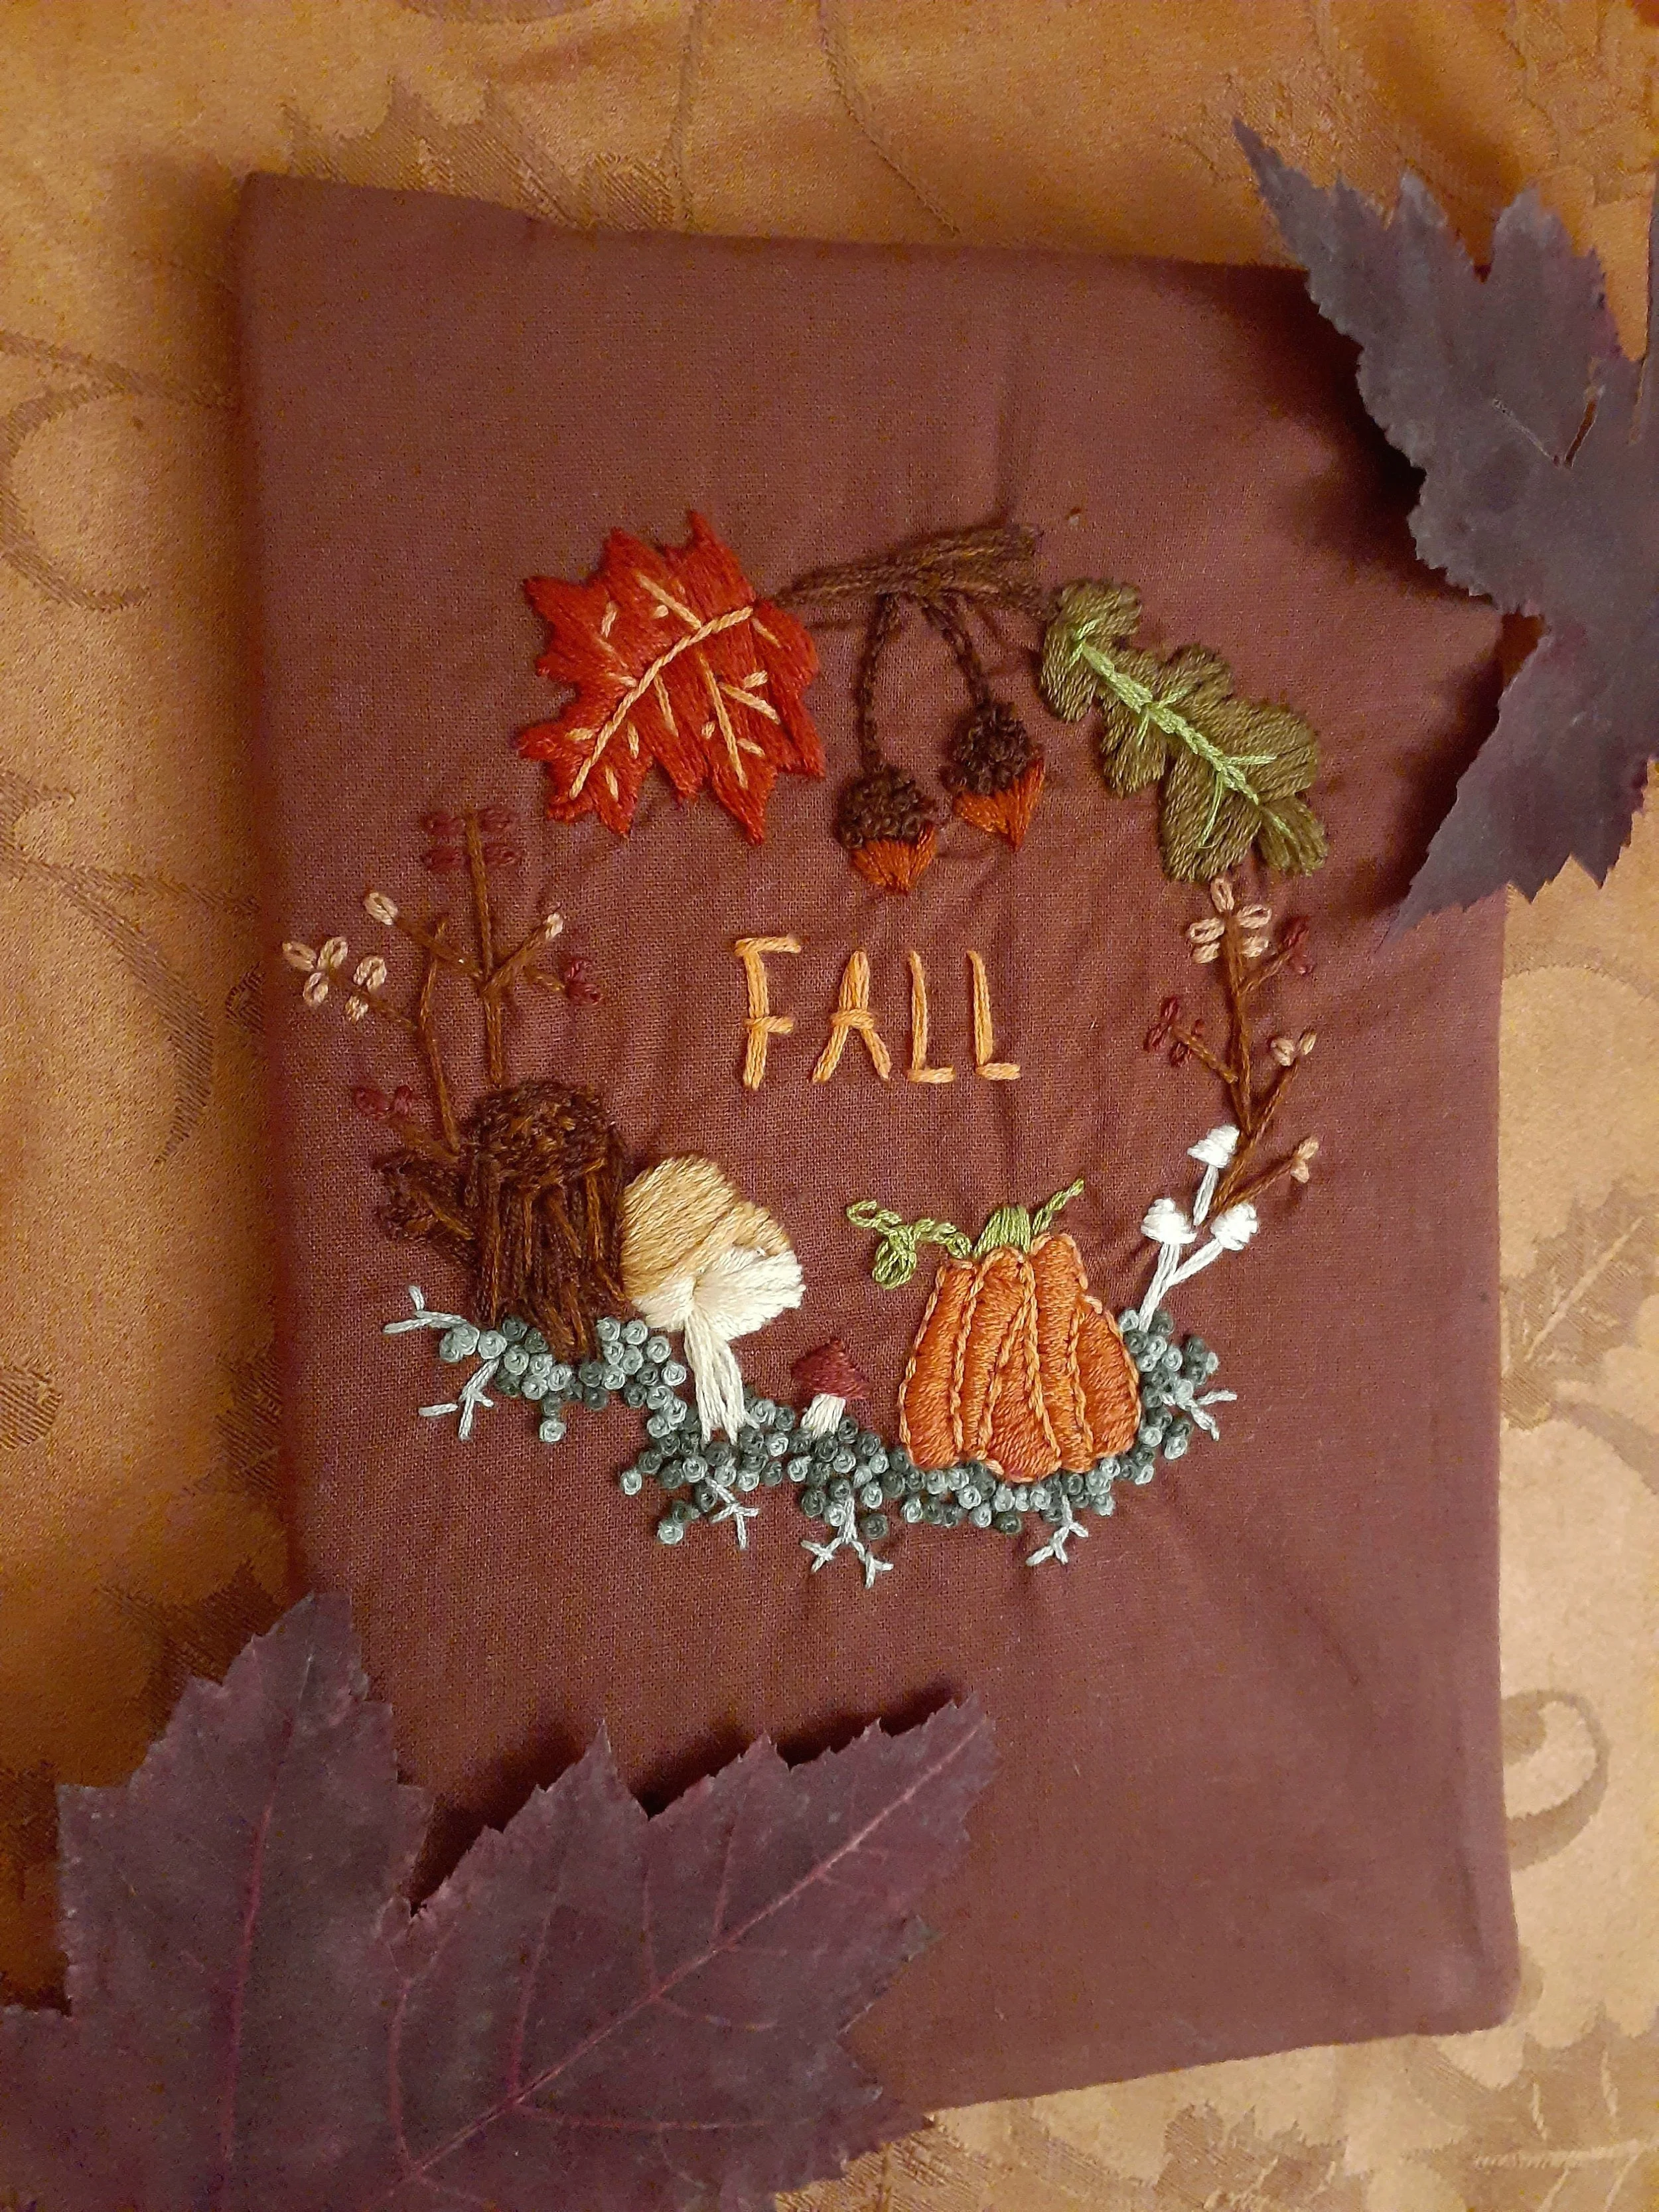
I decided that I would love a notebook with a fall-themed cover, because FALL, and looked at many possible embroidery patterns before deciding to draw something up myself. I’m not much of a drawer either but I thought why not work on that skill while also working on something fun?
So I set to work creating a very rough draft of my design, and then used a white fabric pencil to trace the basic outlines onto some simple brown cotton. I used this opportunity to try out different types of stitches and embroidery textures from a book I’ve been using called A Year of Embroidery, also featured in my previous embroidery blog post. I highly recommend this book to anyone else who is looking to try embroidery. It’s instructions are so clear, with excellent how-to photos and many great embroidery designs to try.
It only took a few hours of embroidery work before the front of my journal cover was complete!
Completing the rest of the journal cover took less than hour.
I simply cut out two more pieces of brown cotton to match the size and shape of the front piece, and then took one of them and cut it in half width wise.
The piece that I cut in half to make two pieces would be used to create the pockets for a journal front and back to be slipped into. I hemmed one side of each of those pieces, after interfacing them with a heavy-weight iron on interfacing.

To sew the journal cover pieces together, the two half pieces were placed on top of the plain piece, and then the cover piece with embroidery was laid face down on top of that.

I then stitched all the way around the rectangle, through all layers, leaving a 2 inch wide opening to turn the cover right side out. I then stitched that hole closed, and it was done!
For the journal insert I used a $2 hard-covered notebook from the dollar store.

Voila! The finished notebook cover.

It was fun to experiment with different textures and colors in this embroidery project, and while there are some things I’d like to tweak if I were to do it again, I’m happy with how it turned out.
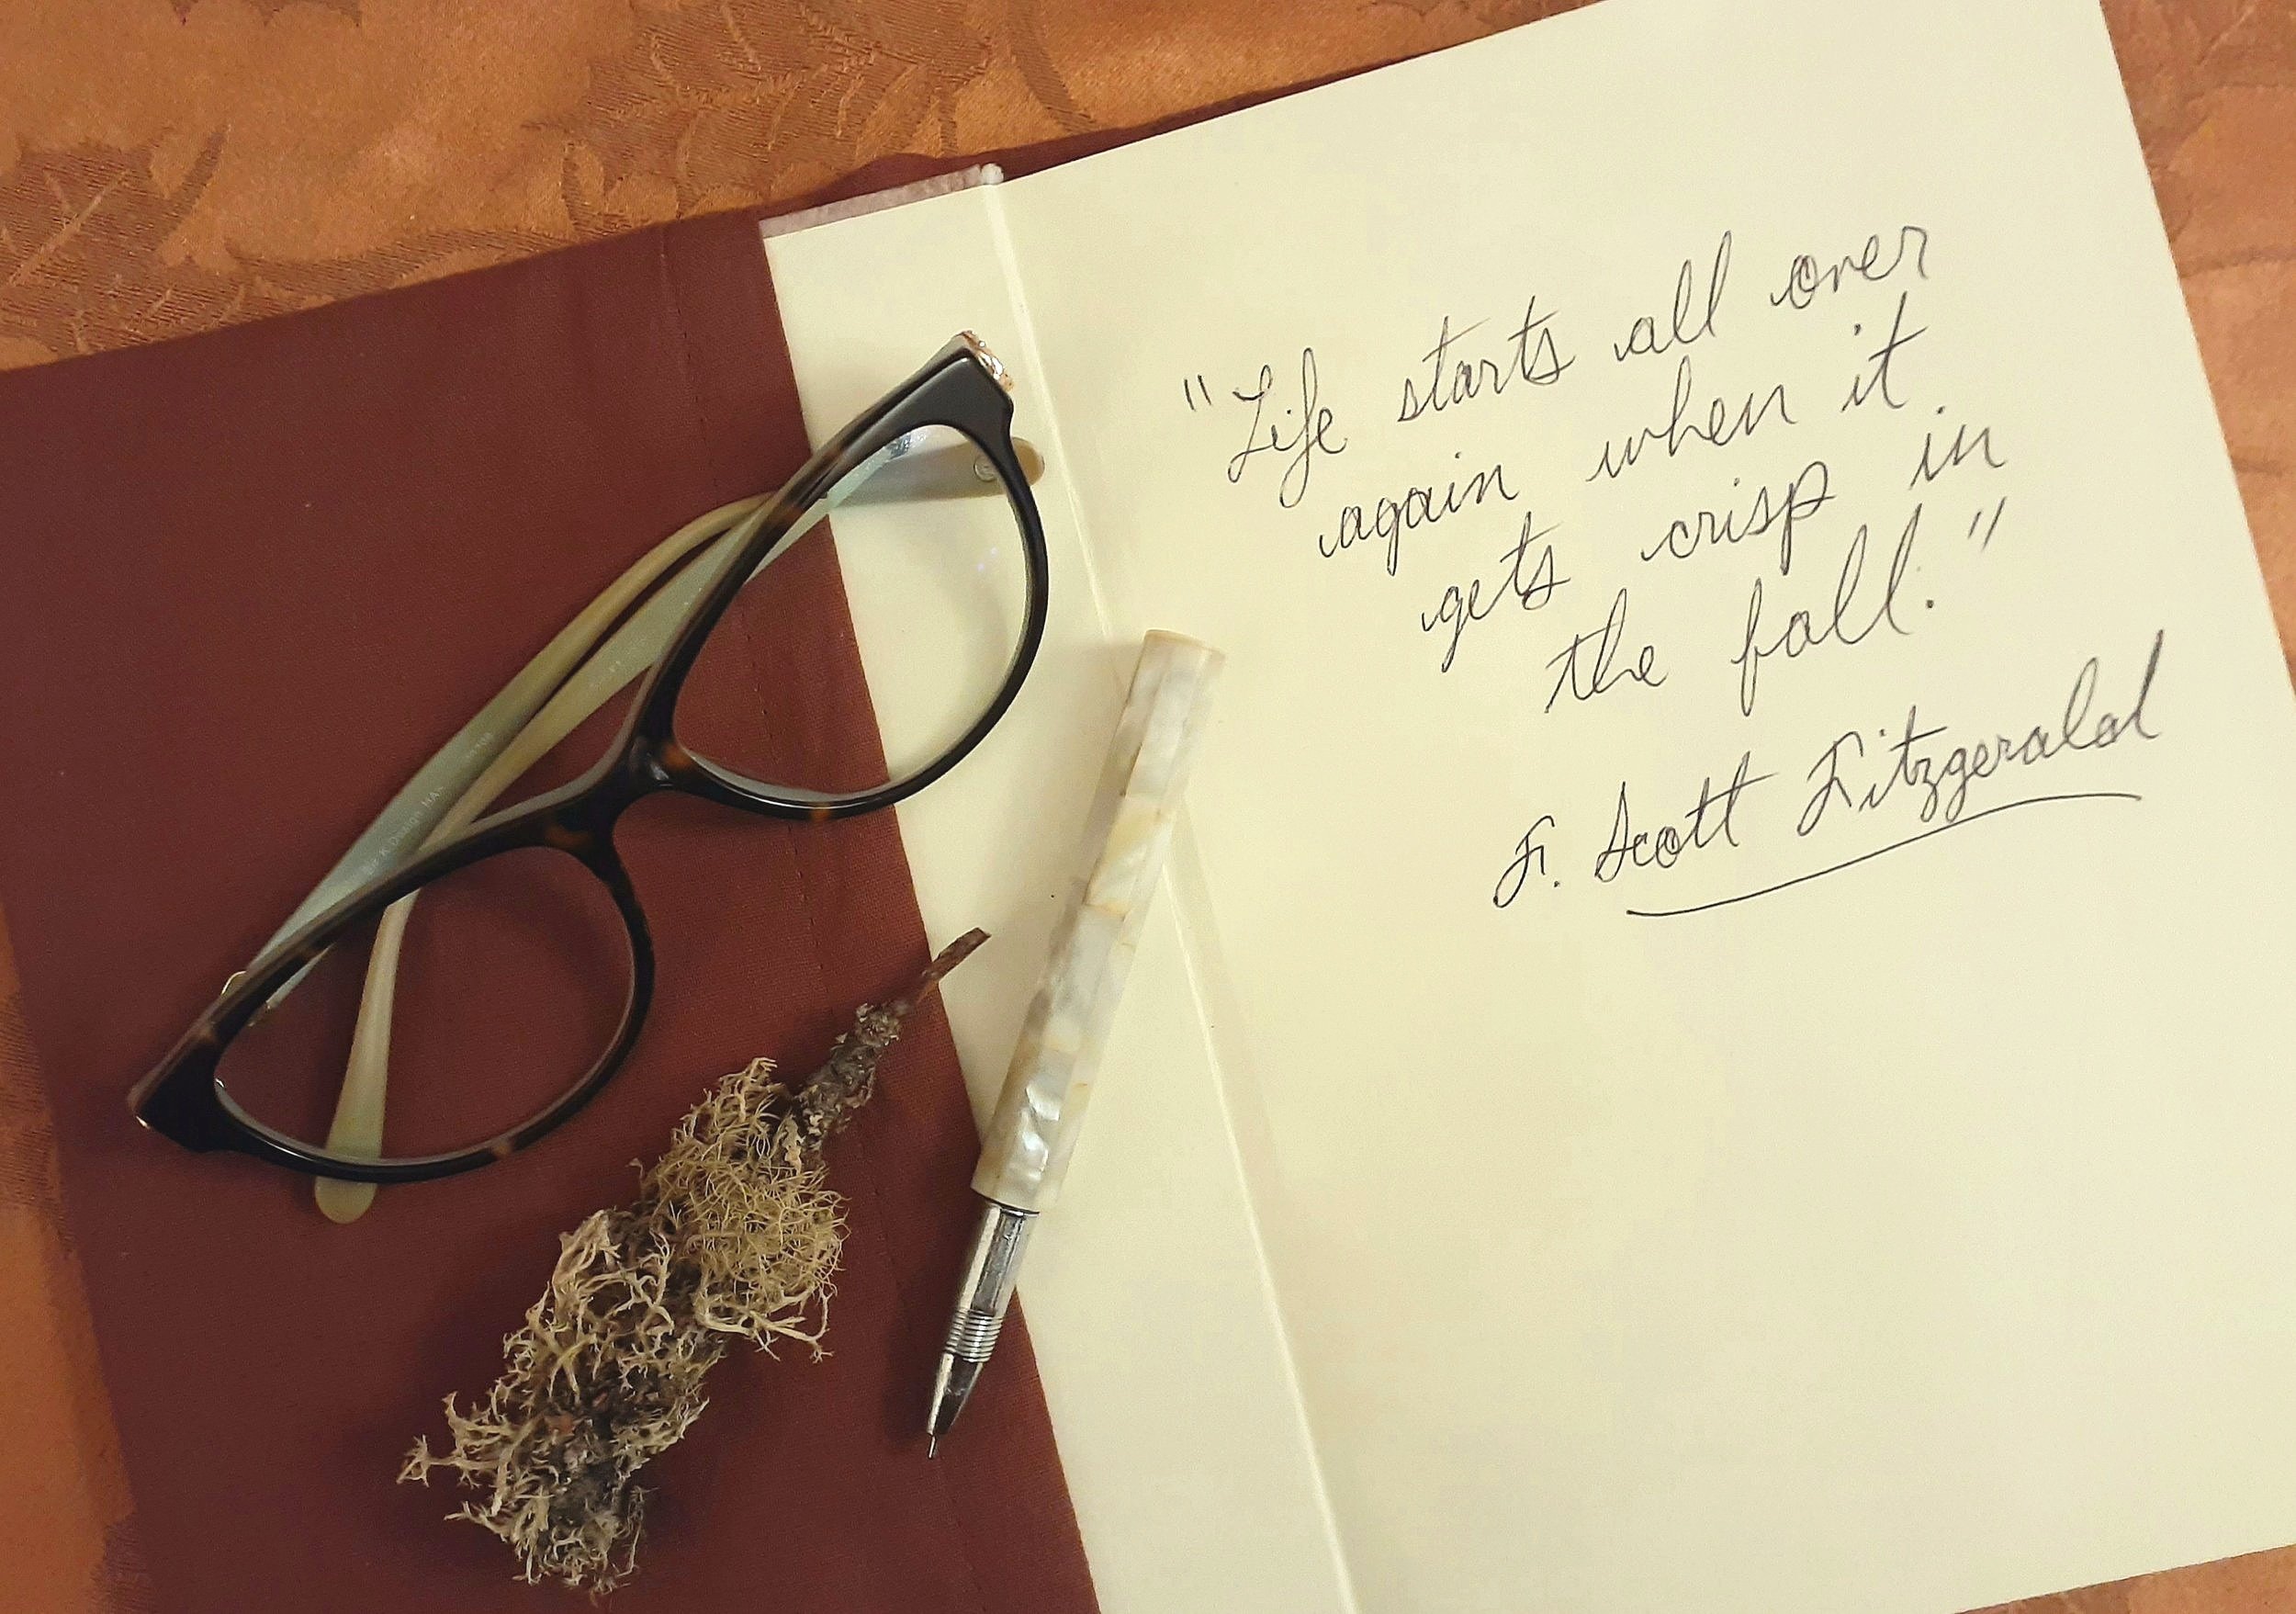
As you can see I need to put some more work into my embroidery of letters. I stuck with some really simple lettering this time, but would love to learn to stitch some beautiful cursive writing.
I’m already enjoying using this hand-made notebook for all of my lists, notes and doodles, and I am thinking about doing one for each season. What do you think? What kind of winter scene would you like to see?
I hope you enjoyed this project, and would love to hear from you about other crafts you’d like to see me try.
Until next time, happy crafting!
~Amanda


